The Android interface and capabilities can vary significantly depending on the version, device, and any carrier interface changes. Most Android devices that are current as of the time of this writing support the Office 365 email, contacts, and calendaring (generally, only the primary calendar) environment. Other software, such as Touchdown, may provide additional capabilities. Because of the non-standardization of the platform, TSO cannot confirm compatibility between all devices and the Office 365 environment and support is provided on a best-effort level only.
The settings below are what you will need to configure your device. We have provided sample steps below these settings, but actual setup steps will vary by device. Before beginning the setup, ensure you are either not on GTother, or if you are, that you have authenticated to LAWN via the web app on your device.
Email address: GTaccountname@gatech.edu
Account name: GTaccountname@gatech.edu
Password: your GT account password
Domain: leave blank
Email server: outlook.office365.com
SSL: should be on, if available
If domain and account name are on the same line, it would be GTaccountname@gatech.edu (e.g. gburdell3@gatech.edu).
Sample instructions
These instructions were developed using the TouchWiz UI on Android 4.4.2. Other devices' configuration may vary.
- Open the Email app (also called Mail on some versions of Android).
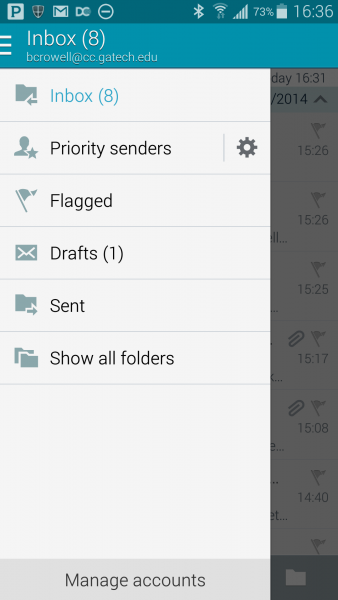
- If there are no other accounts, skip to step 4. Otherwise, expand the tray (1) that shows mailbox folders and select Manage accounts (2)
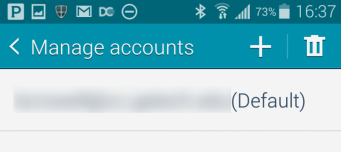
- Click the + to add an additional email account.
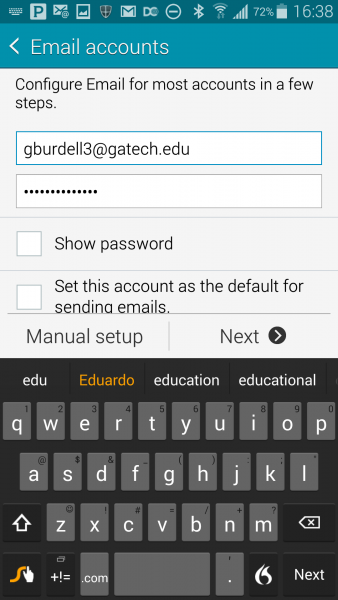
- On the window that pops up, enter the email address as GTaccountname@gatech.edu. The password will be your GT account password. Click Next.
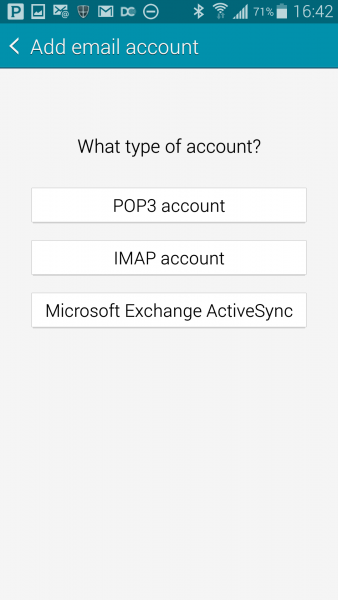
- When prompted for account type, select Microsoft Exchange ActiveSync.
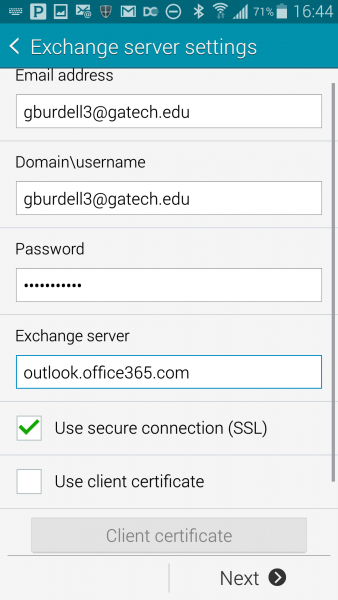
- On the Exchange server settings screen, input the following:
- E-mail address: Enter it in the format GTaccountname@gatech.edu
- Domain\username: Enter it in the format GTaccountname@gatech.edu
- Password: your GT account password.
- Exchange server: outlook.office365.com
- check Use secure connection (SSL).
- Click Next.
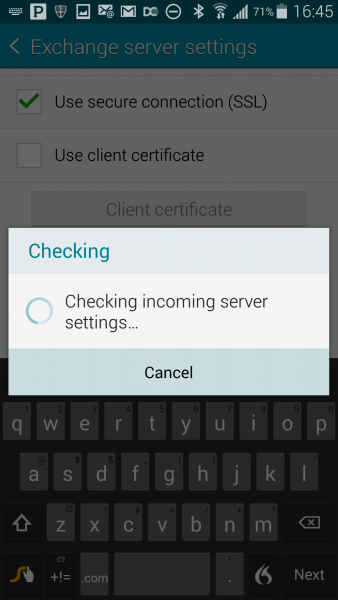
- You will be presented with a screen that shows the incoming server settings are being checked.
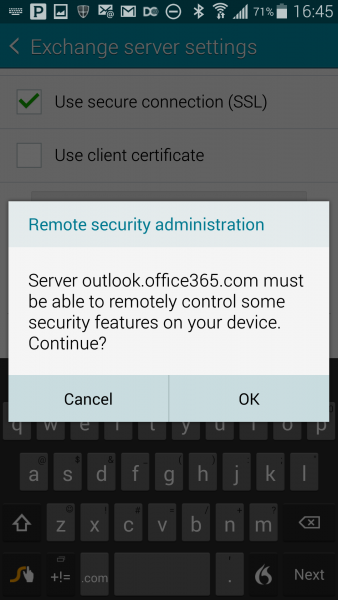
- You will be prompted to allow remote security administration. Click OK.
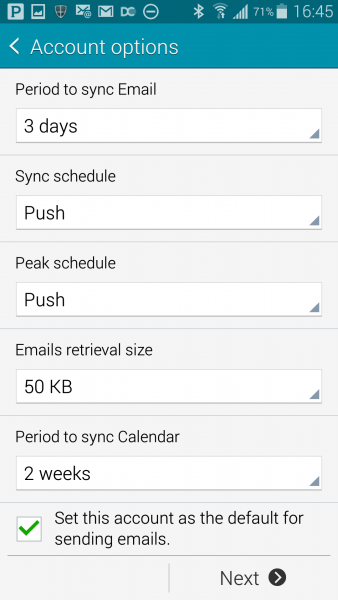
- Make any desired changes to the account options or accept the defaults and click Next.
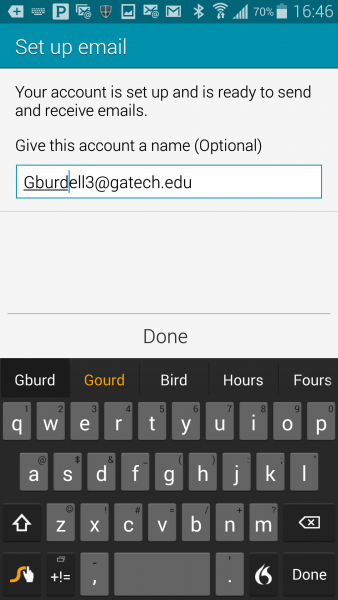
- If desired, set an account name or accept the default and click Done. Email, calendars, and contacts (unless deselected on the Account options screen) will begin to populate.
